Building a Blog with CrewAI: Multi-Agent Development Workflow
Introduction
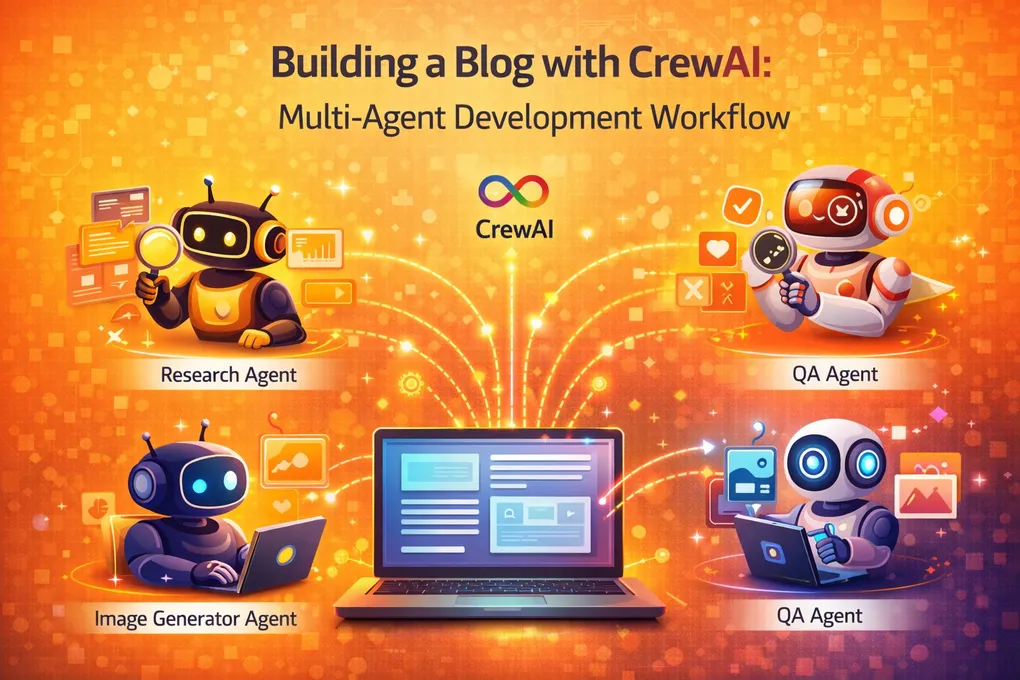
In this post, I’ll share how I use CrewAI to build and maintain this blog site. CrewAI is a framework for orchestrating role-playing AI agents that work together to complete complex tasks. For this blog, I’ve created a specialized crew of agents that handle different aspects of development.
The Blog Development Crew
I’ve set up a crew with three specialized agents:
1. Content Architect
- Role: Technical writer and content strategist
- Responsibilities:
- Drafting blog post outlines
- Researching technical topics
- Ensuring content quality and consistency
- Maintaining the blog’s voice and style
2. Code Engineer
- Role: Full-stack developer
- Responsibilities:
- Implementing Astro components
- Creating new page layouts
- Fixing bugs and optimizing performance
- Managing the content collection schema
3. Quality Assurance
- Role: Reviewer and tester
- Responsibilities:
- Reviewing content for accuracy
- Testing components across devices
- Checking accessibility and SEO
- Ensuring consistency with existing content
Real-World Example: Creating This Blog Post
Here’s how I used CrewAI to create this very post:
Step 1: Content Planning
# crewai_config.py
from crewai import Agent, Task, Crew
from langchain.tools import Tool

# Define the Content Architect
content_architect = Agent(
    role="Content Architect",
    goal="Create engaging technical content for the blog",
    backstory="Expert in technical writing with 10+ years experience",
    tools=[web_search_tool, code_analysis_tool],
    verbose=True
)

# Define the task
content_task = Task(
    description="Create a blog post about using CrewAI for blog development",
    agent=content_architect,
    expected_output="A detailed blog post with code examples and workflow diagrams"
)

# Create the crew
crew = Crew(
    agents=[content_architect],
    tasks=[content_task],
    verbose=2
)

# Execute
result = crew.kickoff()
Step 2: Code Implementation
The Code Engineer agent then takes the content and:
- Creates the MDX file in the correct directory
- Adds appropriate frontmatter (title, description, tags, heroImage)
- Implements any custom components needed
- Updates the blog index to include the new post
Step 3: Quality Review
The QA agent reviews:
- Content accuracy and technical correctness
- Code examples compile and work
- SEO meta tags are properly set
- Mobile responsiveness
- Accessibility compliance
Workflow Automation
I’ve automated this workflow using n8n, which triggers on specific events:
# n8n workflow configuration
workflow:
  triggers:
    - on: "git push to main"
    - on: "new issue labeled 'blog-post'"

  steps:
    - crewai_analyze_changes
    - crewai_draft_content
    - crewai_review_content
    - crewai_create_pr
Benefits for Blog Development
1. Consistency
- Every post follows the same structure
- Consistent code examples and formatting
- Uniform tone and voice
2. Speed
- Draft posts in minutes instead of hours
- Automated code generation
- Instant review and feedback
3. Quality
- Multiple agents review for different aspects
- Automated testing of code examples
- SEO and accessibility checks
Code Examples
Here’s how I use CrewAI to generate code for this blog:
# generate_blog_post.py
from crewai import Crew, Process
from langchain_openai import ChatOpenAI

# Define agents
agents = [
    Agent(
        role="Astro Developer",
        goal="Create Astro components for the blog",
        backstory="Expert in Astro and TypeScript",
        tools=[file_system_tool, code_generation_tool]
    ),
    Agent(
        role="Content Writer",
        goal="Write technical blog posts",
        backstory="Technical writer with microservices expertise",
        tools=[web_search_tool, markdown_tool]
    )
]

# Define tasks
tasks = [
    Task(
        description="Create a new blog post about microservices patterns",
        agent=agents[1],
        expected_output="MDX file with frontmatter and content"
    ),
    Task(
        description="Update the blog index to include the new post",
        agent=agents[0],
        expected_output="Updated src/pages/blog/index.astro"
    )
]

# Create and run crew
crew = Crew(
    agents=agents,
    tasks=tasks,
    process=Process.sequential,
    verbose=2
)

result = crew.kickoff()
Integration with Git
I use CrewAI to automate git workflows:
# Create a new blog post
$ python create_blog_post.py --topic "CrewAI" --tags "ai,automation"

# CrewAI will:
# 1. Create the MDX file
# 2. Generate content
# 3. Update the blog index
# 4. Create a git branch
# 5. Commit the changes
# 6. Create a pull request
Lessons Learned
What Works Well
- Clear agent roles: Each agent has a specific, well-defined role
- Sequential workflow: Content → Code → Review works perfectly
- Integration with n8n: Automated triggers make it seamless
Challenges
- Context management: Keeping all agents aware of the blog’s structure
- Code quality: Sometimes need manual review for complex components
- Cost: Multiple API calls can add up
Future Improvements
I’m planning to add more agents:
- SEO Specialist: Optimizes content for search engines
- Accessibility Auditor: Ensures WCAG compliance
- Performance Analyst: Checks page load times and optimization opportunities
Conclusion
CrewAI has transformed how I develop this blog. What used to take hours now takes minutes, and the quality is consistently high. The multi-agent approach ensures that every aspect of the blog gets proper attention.
For developers building content-heavy sites, I highly recommend exploring CrewAI. The initial setup takes time, but the long-term productivity gains are substantial.
Next in this series: I’ll show you how I use Aider for pair programming with AI to write the actual code for this blog.